How to Get Six-Pack Abs at Home Without Gym Equipment

Whether or not you can see your abs comes down to a combination of how developed your ab muscles are and how little fat you have on your stomach. If you make your ab muscles bigger through exercise then they show more. If you diet to lose fat, you'll eventually be able to see your abs because fat covers them.
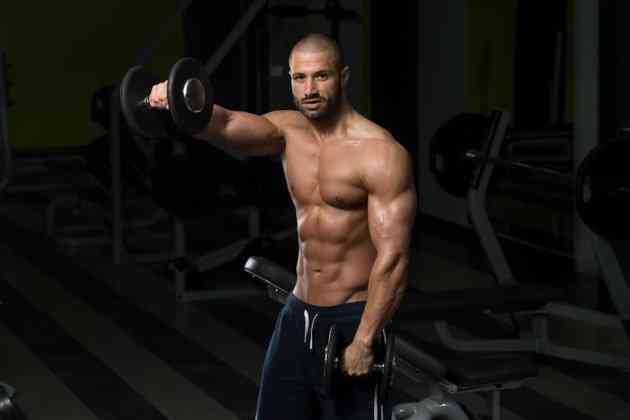
 You don't need fancy equipment to get six-pack abs. (Image: Wavebreakmedia/iStock/Getty Images)
Even though diet is important when trying to get a six-pack, training is a must. When you train your abs, you can make them more developed and defined in all areas.
You have four different ab muscles: the transverse abdominis, internal obliques, external obliques and rectus abdominis. Of these four, only two are visible: the external oblique muscles and rectus abdominis. The rectus abdominis is the muscle that actually makes the six-pack and the obliques are the muscles on the side. In order to groom an amazing set of abs, though, you must work all of them.
This home workout doesn't include any equipment, but don't let that fool you; it's not going to be easy. Your body weight offers plenty of resistance.
Here are five exercises that you can perform at home to work all your ab muscles to develop a six-pack.
Read more: Food Tips for Six Pack Abs
1. Single-Leg Sit-Up
The single-leg sit-up is a slightly more effective version of the regular sit-up because it allows you to focus more on your ab muscles and take your hip flexors out of the movement.
HOW TO DO IT: Lie on your back with one leg straight and one leg bent. Reach your arms up towards the ceiling. Now perform a sit-up, trying to get your chest as close as possible to the bent knee. Try to do at least three sets of eight reps on each leg.
Read more: 21 Sit-Up Variations You Won't Totally Hate
2. Bicycle
This exercise is a combination of a twisting and crunching motion that works your obliques and rectus abdominis.
HOW TO DO IT: Lie on your back with your hands behind your head and legs in the air; bend your knees at a 90 degree angle. Push your lower back down into the ground and keep it there throughout the movement.
Try to touch your left elbow and right knee together. To do this, turn your torso, arms and head to the right while you extend your left leg out straight. Don't let your legs touch the ground through the entire set.
Switch sides: reach your right leg out and bring your left knee in towards your right elbow as you turn your torso to the left, reaching your right elbow towards your left knee. Keep alternating slowly and with control between right knee/left elbow and left knee/right elbow. Try to do at least eight touches on each side.
 Lift those hips off the mat. (Image: Cherina Jones)
3. Dead Bug Hand Smash
This exercise is a small, concentrated movement that pinpoints your lower abs and obliques.
HOW TO DO IT: Lie on your back with your hands under you lower back and legs in the air with your knees bent at a 90-degree angle. Keep your head and shoulders flat on the ground.
Raise your hips off the ground by pushing your lower back into your hands. This exercise is called the "dead bug hand smash" because you're trying to smash your hands down into the ground with your lower back. It's meant to be a small, slow, and controlled movement.
Try not to swing your legs to give yourself momentum, just focus on pushing your hands into the ground with your lower back. Perform three sets of 10 repetitions.
 Reach for your goals. (Image: Cherina Jones)
4. Plank With Reach
The reach adds a little spice to the regular plank and adds an extra challenge to your abs. Your balance and core will be extra taxed because you'll be supported by just one arm.
HOW TO DO IT: Assume a plank position on the ground with your forearms and hands flat, your elbows under your shoulders and legs straight -- toes tucked under. Make your body a straight line from your shoulders to your ankles. Squeeze your abs so that your torso is as stiff as a wooden plank. Place your feet approximately 6 inches apart.
Reach your right arm forward, trying to straighten out your elbow. Pause when your elbow is straight and arm is in the air, then bring it back down to the plank position. Raise the other arm. Keep switching between arms, pausing once your elbow is straight each time. Work up to 10 reaches with each arm.
 This is the top position of side plank. (Image: Cherina Jones)
5. Side Plank
Your obliques will hold you up in this variation of the plank.
HOW TO DO IT: Lie on your right side with your right elbow planted under your right shoulder and forearm on the ground. Stack your left leg on top of your right leg with both knees straight. Keep your hips on the ground.
Raise your hips into the air. Put all of your weight on your right elbow and right foot. Push your hips forwards so that there is a straight line from your head to your shoulders. Hold this position for as long as you can, at least 15 seconds, and then switch sides. Perform three sets on each side, holding the plank for as long as you can.
Tip
To see if your hips are forwards enough, look down at your feet. If you can see most of your foot then your need to push your hips farther forwards.


